Patternflow
Four knobs. The pattern answers as you turn them.
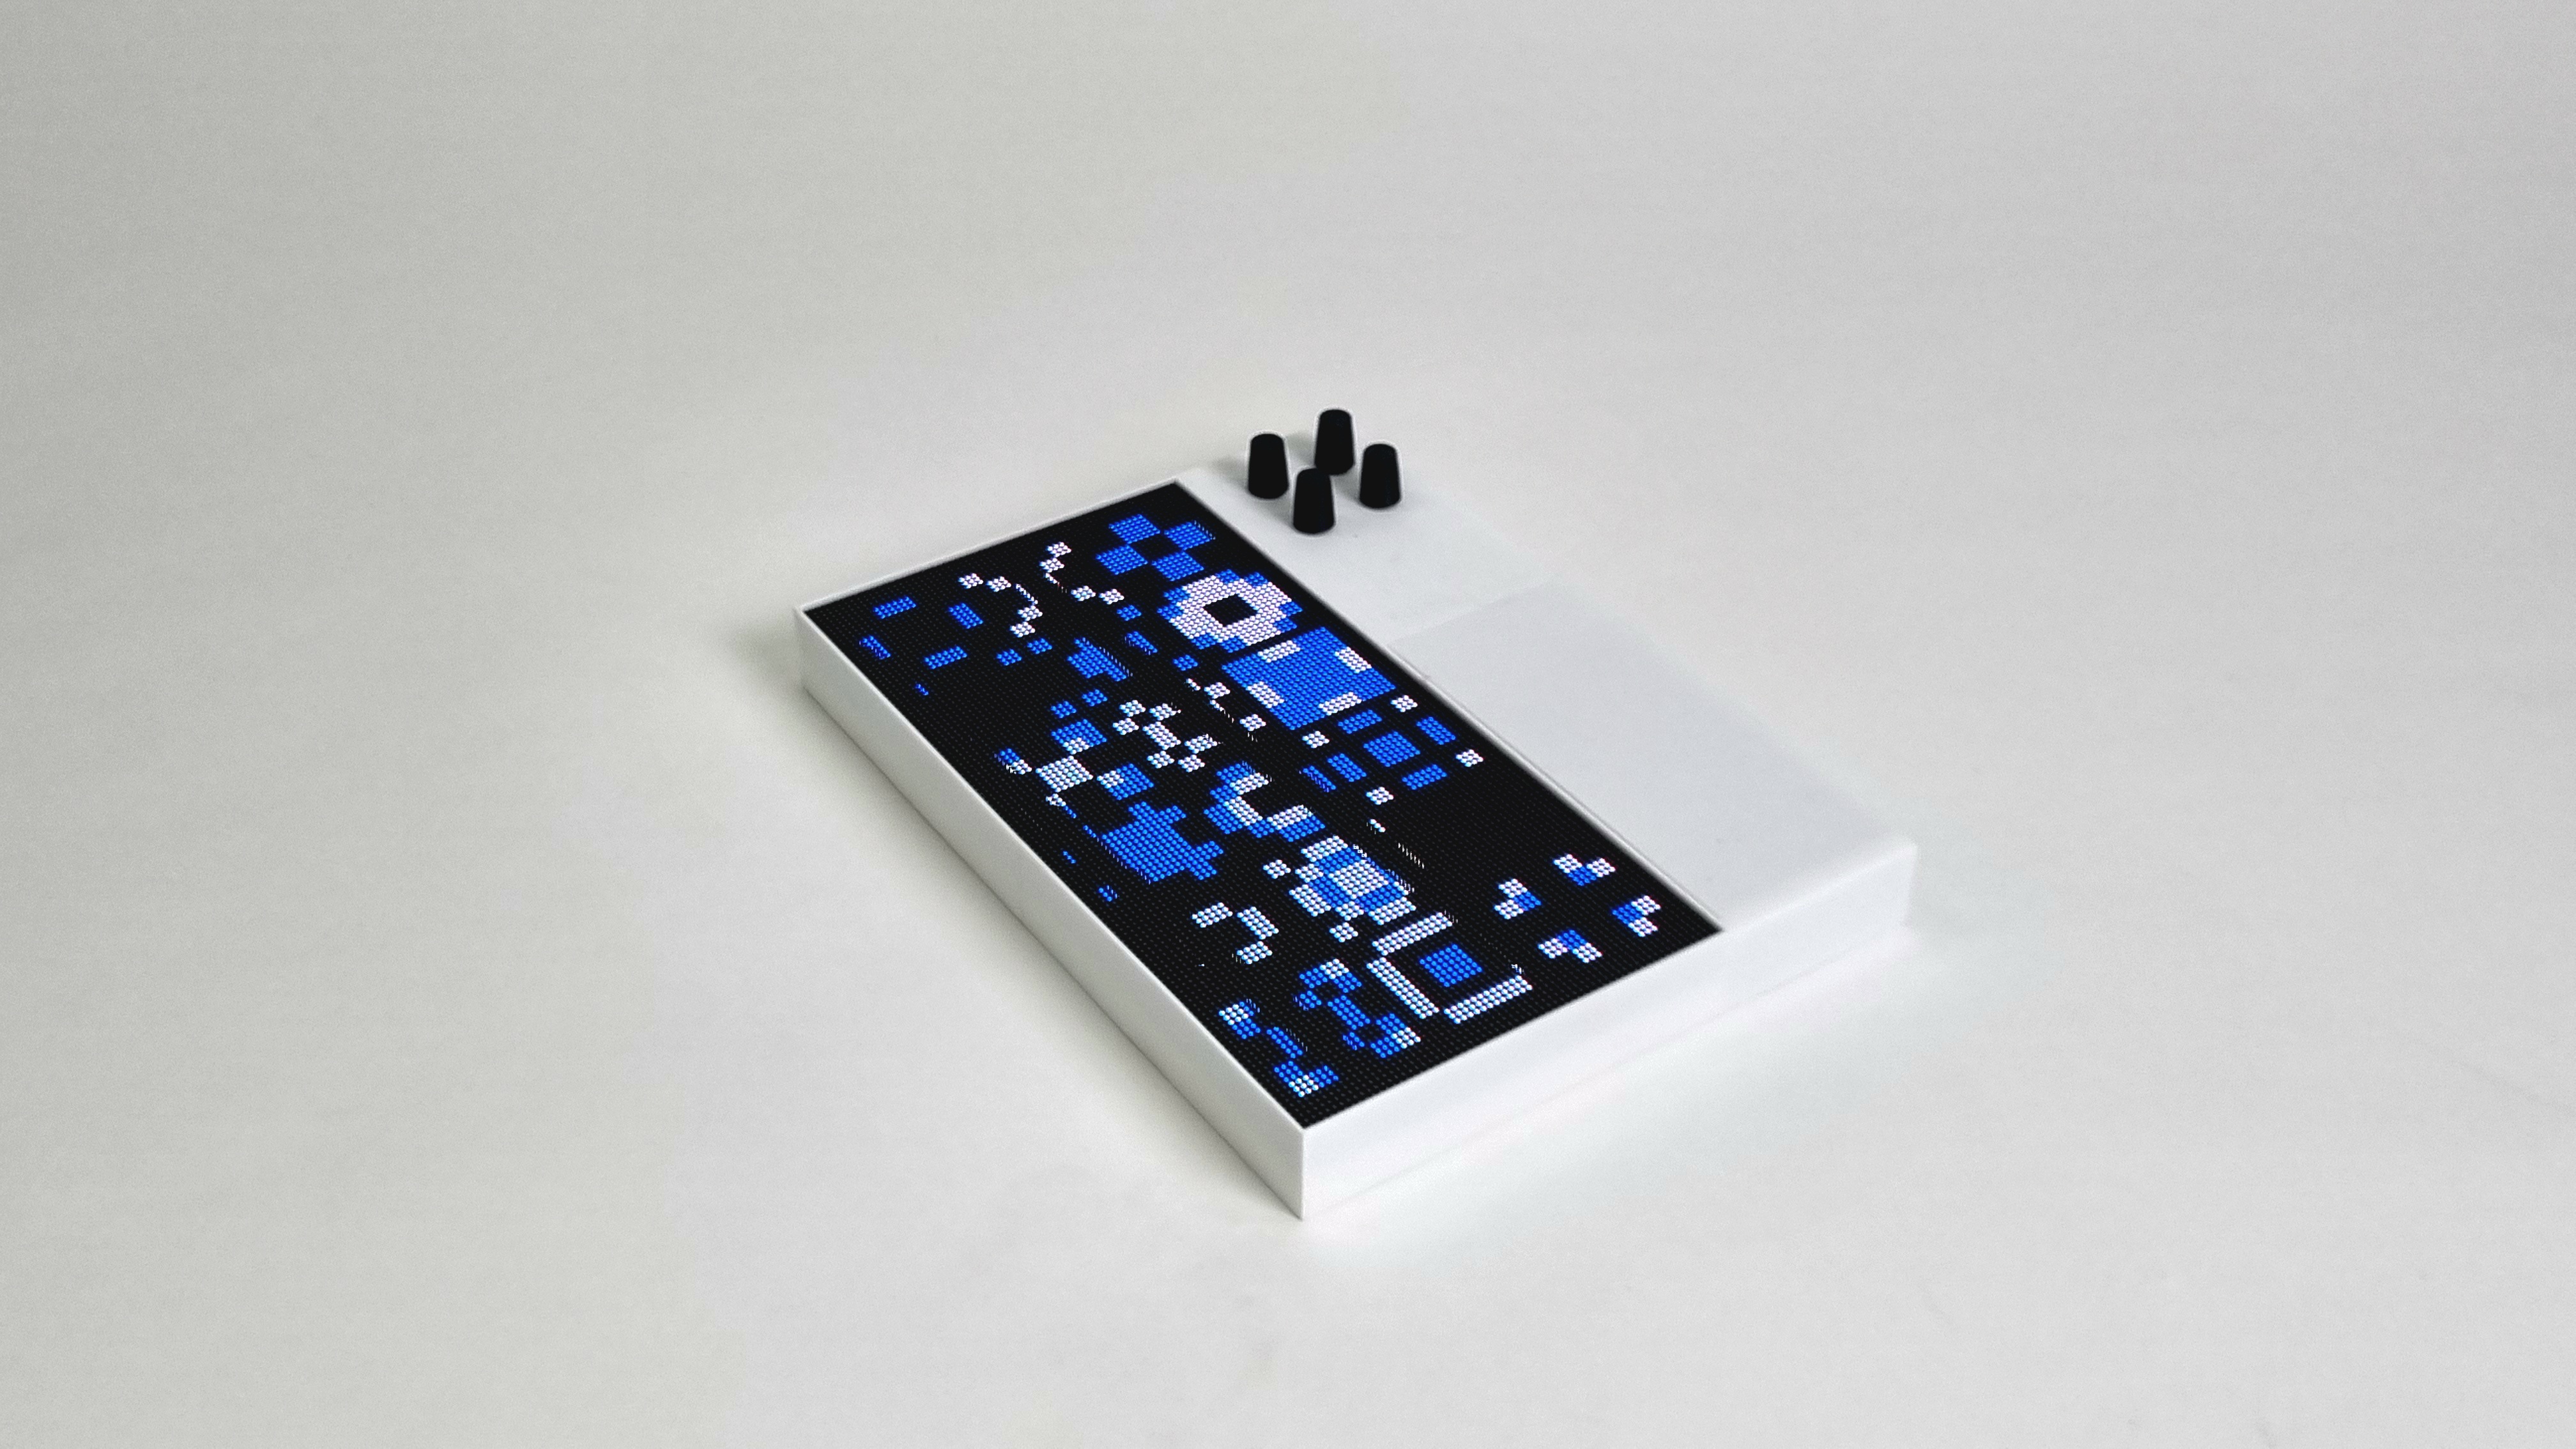
Every Patternflow plays every pattern we make.
Around 40 people have made one so far.

Build your own.
Around US$100–200 and an hour of hands-on work.
Every case here holds the same v3 board, soldered, wired and flashed the same way; what changes is the body around it. The official case is printed, and it is the one the build guide walks through. The three community remixes have each been built by their authors: another printed case, one laser-cut from acrylic or MDF sheet, and a printed one that holds the panel the long way across, on stands for a desk. Pick one and the 3D view shows the device in it.
The official printed case
OfficialThe case the build guide walks through and the 3D model on this page shows: a frame for the panel and a bay for the board and the power bank, with a snap-fit back panel and two wall-mount holes. On a 256 mm bed it prints in halves you glue right after printing; on a 330 mm bed it is one piece.
- By
- Patternflow, the project’s own design
- Material
- White PLA for the body, black PLA for the knobs, as a separate print.
- Fits
- v3.9 and v3.0 boards, and the panel linked in the BOM. For another panel there is an adjustable version, in for_other_panels/.
- Make
- About 10 hours on a 256 mm bed (Bambu P1S, X1C or A1 class), then the knobs. One piece, no gluing, on a ~330 mm bed.
- Also needs
- 6–12 M4 screws, about 10 mm, for the panel; CA glue for the halves.
- Verified
- Print and assembly verified: the assembly video is built from these files.
- License
- CC BY-SA 4.0
Check your panel firstThe adjustable version in for_other_panels/ is not universal: if your panel’s holes sit far from the BOM panel’s, it may still not fit. Check its mounting part against your panel before the full print. How to check ↗
The build guide covers it end to end: printing in section 4, assembly in section 6.
No custom PCB, or an older v2 board? Every route is in the assembly map.
Make and flash patterns.
Write it here, watch it on the device, flash it from the browser.
Pattern Lab ↗
The full studio — batch generation, color ramps, and ESP32 C++ compile.
02Community ↗
Share what you make, fork what everyone else made.
The build server compiles your pattern into firmware in the browser. The Arduino IDE is only for new firmware features or a different matrix size.
For a first flash, before you press it: the ESP32-S3 out of the board, a data cable in its left USB-C port. Hold BOOT, tap RST, let go of BOOT, then press Flash Patternflow. You get Origin, and the Basics pack adds 33 more in one click.
The Wi-Fi step usually doesn’t appear after the install, and that’s expected: press RST, press Flash Patternflow again, pick the port and choose Connect to Wi-Fi. The guide shows every screen on a board you can turn (written version ↗).
Chrome / Edge onlyInside the work.
Builds, projects, and places where Patternflow comes to life.
Pick a marker or a title to explore.
- The first print
- Horizontal build
- Plaster shell, on the wall
- Pastel, among the boomboxes
- Orange, in the garden
- The first sale
- A gift, for the patterns
- Wooden case
- Shoulder-strap case
- In the DJ booth
- SimonePDA’s build
- Black enclosure
- MOTIFLOW
- Raspberry Pi port
- Paper & acrylic diffuser
- Nath’s build
- The second build
- The first build
Made something with Patternflow, or used it somewhere? Send a link or a photo and I'll add it here.