Patternflow
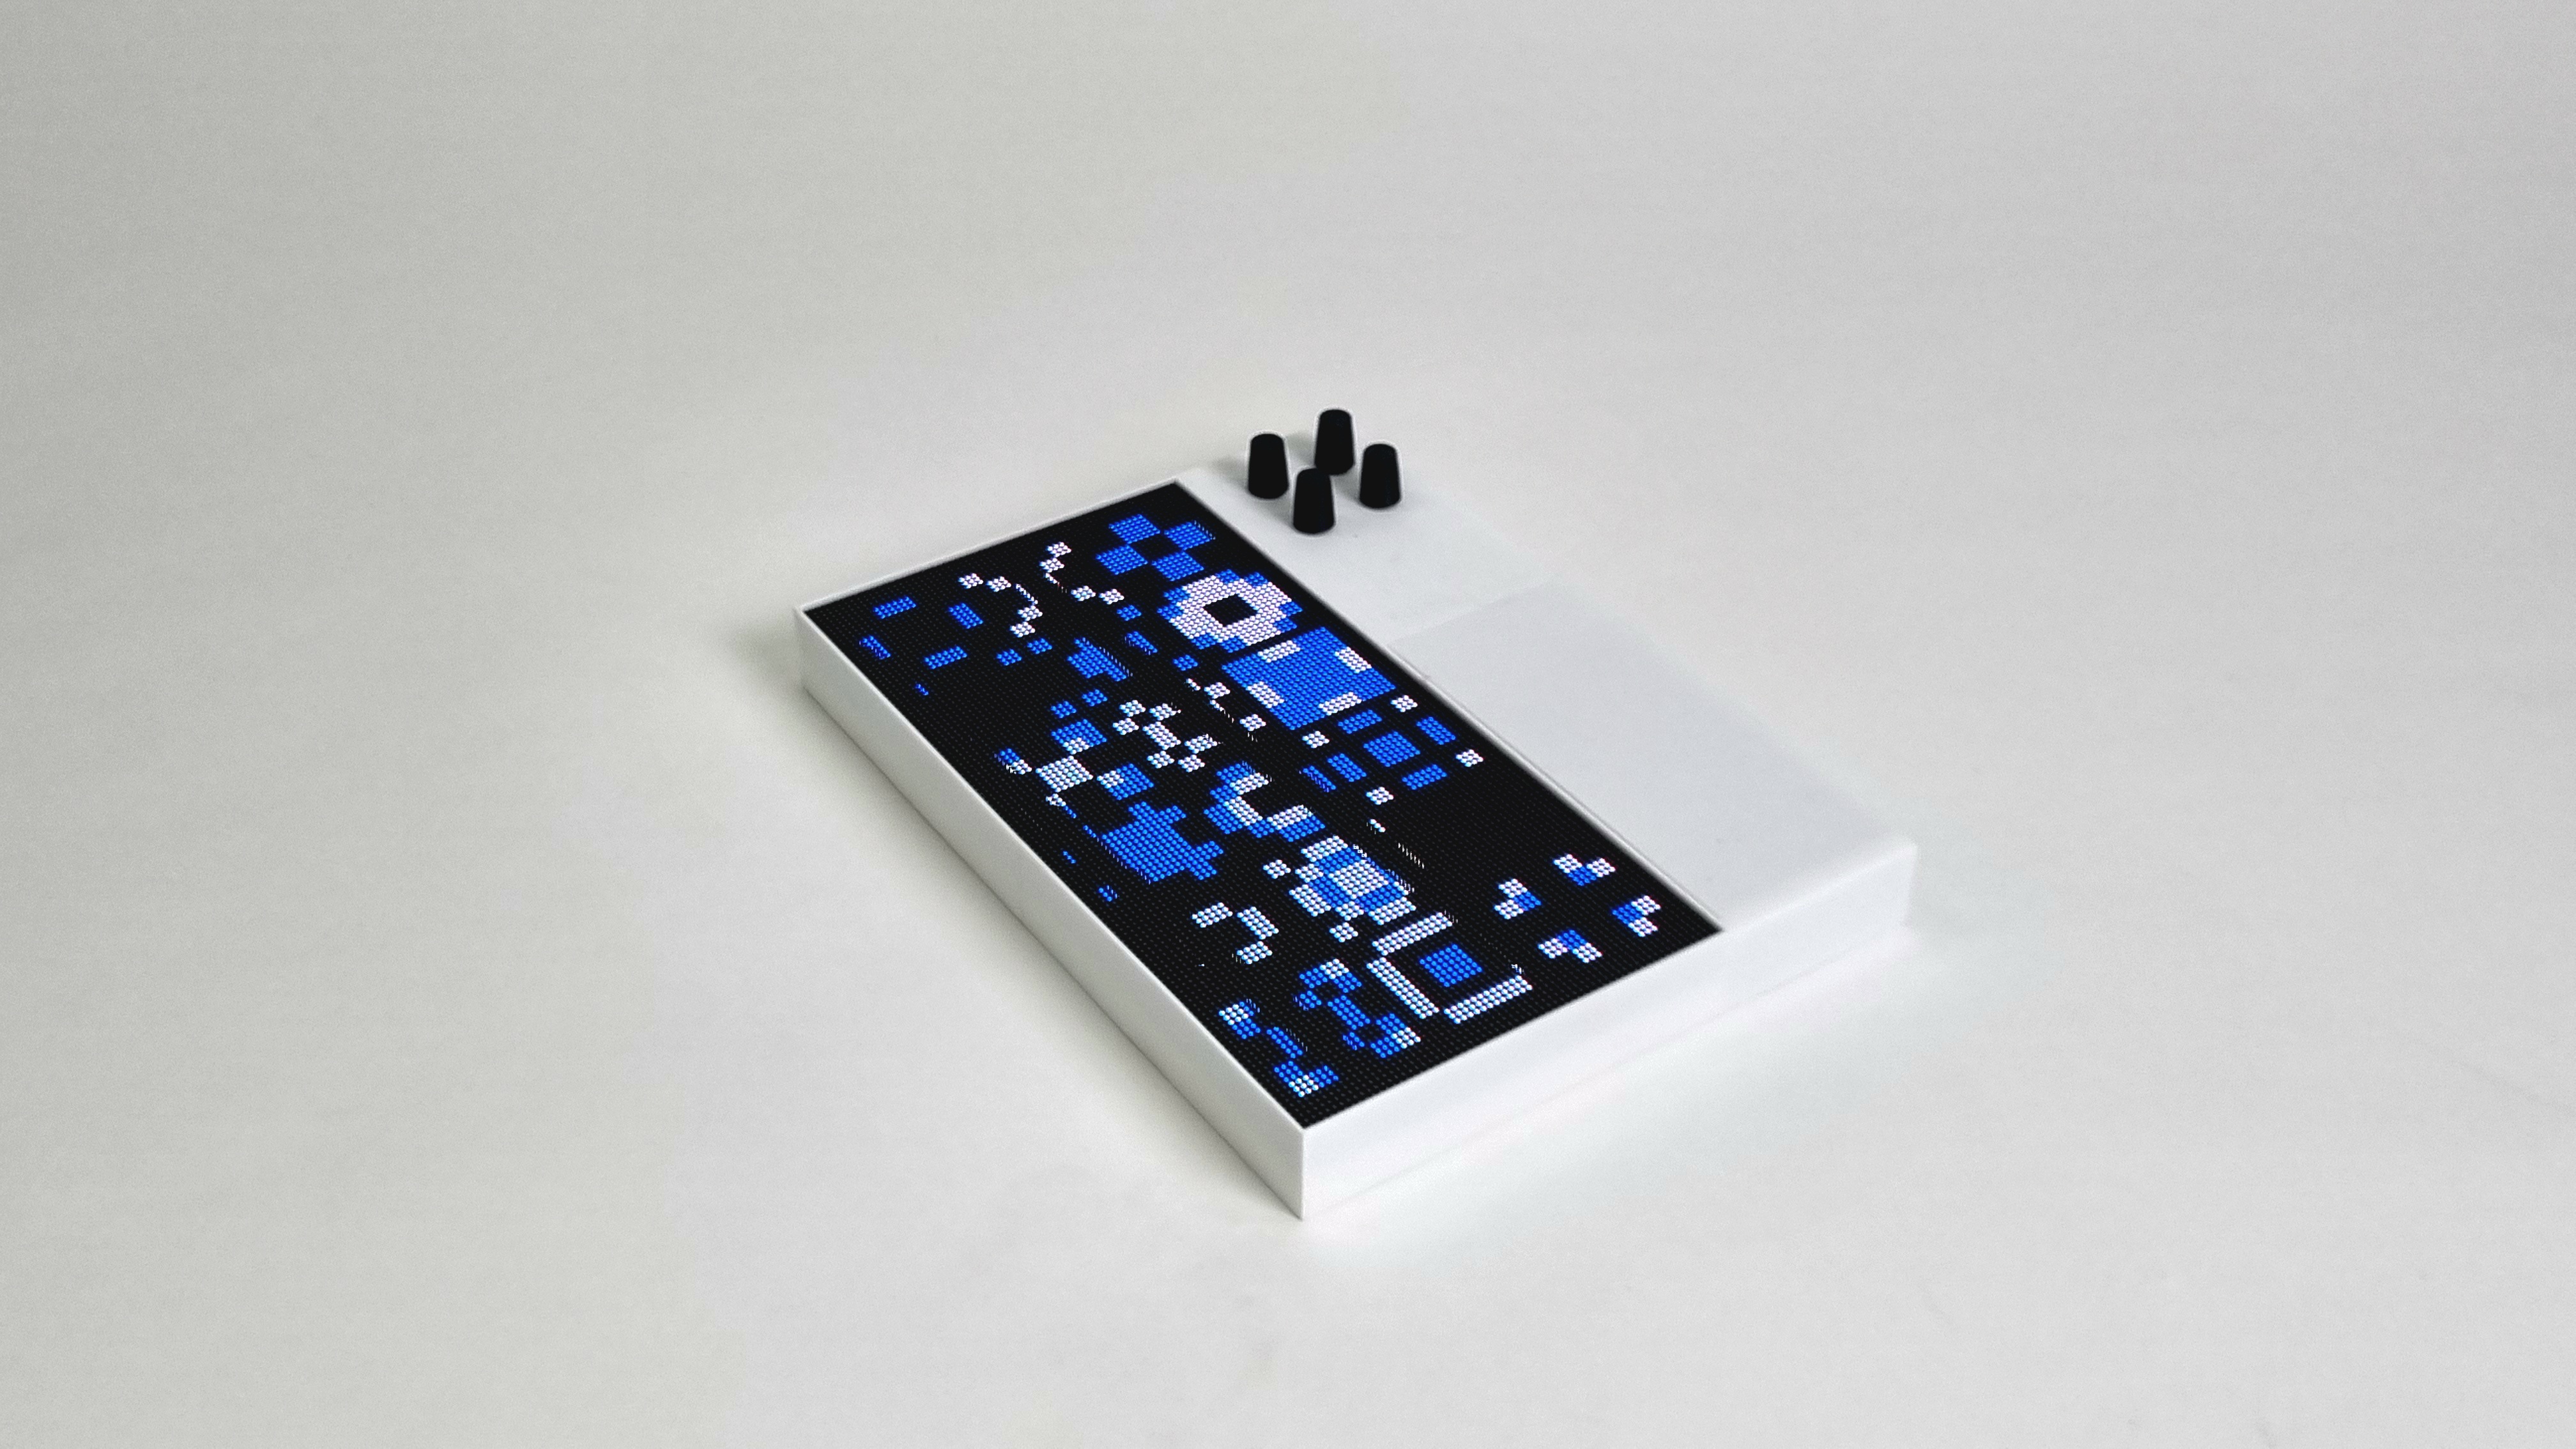
A reinterpretation of Nam June Paik's
Participation TV (1963).
Where Paik brought participation into art,
Patternflow puts creation in everyone's hands.
Create and share your own light.
All source files and guides are on GitHub.
Build one now, or join the waitlist.
Build your own.
Follow the guides to build your own Patternflow.
Pick one enclosure path and one electronics path. The current guide is the complete route today; the other combinations are in active testing — follow the linked issues to track progress — so you can start with the tools, budget, and space you actually have. The custom PCB is stable; PCBA may come later as an easier assembly option.
Make and flash patterns.
Explore the presets, then copy a prompt to create your own with AI.
Copy a prompt, then paste it into ChatGPT, Claude, Grok, or Gemini.
Use it on hardware
- Download the firmware source and open
patternflow.inoin Arduino IDE. - Add your generated pattern header to
firmware/patternflow. - Add the pattern namespace to
pattern_registry.h. - Upload the sketch to your ESP32-S3.
Every pattern from Patternflow's Instagram is also shared on Discord. The Discord patterns channel mirrors the Instagram feed with the full JavaScript source, the hardware-tested C++ header, and the design notes behind each one. Join the Discord to grab any pattern you saw on a post, or share yours back — selected community patterns may be bundled into future releases.
Want more detail than the four steps above? Read the firmware README — it covers wiring, OTA wireless flashing, panel color calibration, and the most common upload errors.
Newer to Arduino or embedded work? Copy the entire firmware README into ChatGPT or Claude and ask it to walk you through your specific setup. The README is written densely enough that an AI assistant can guide a beginner through it step by step.
Inside the work.
How to get involved.
Patternflow is a way to play light with your fingertips. You do not have to be special to make one, and you do not have to start with the most polished version.
Start with what you have, ask when you get stuck, and pass help on when you can.
The goal is simple: cover this globe with Patternflow.
Select a point on the globe to explore build detailsMost of the day-to-day help happens in Discord. Instagram is for showing patterns in motion. GitHub is where the files, issues, and contribution notes live.
- Patternflow: Origin began as my first work as a new media artist, built around 3D-printed forms and the seed of what became Patternflow.
- The Origin pattern was tested on a physical LED matrix with four knobs.
- Instagram and the Arduino subreddit responded strongly, so Patternflow turned into an open-source project. The first PCB was made with PCBWay sponsorship.
- Patternflow reached 100 GitHub stars, and the first collaborator joined. Preparing for small-run sales, we initiated a precise BOM cost calculation, estimating roughly $120 in pure material cost for the worst-case scenario.
- With the Crowd Supply contract signed, prepare the crowdfunding campaign — order the first PCBA batch and get Patternflow ready to sell in a small, practical run.
- Run the Crowd Supply campaign at the lowest sustainable price, send Patternflow further out into the world, collaborate with more artists, and earn academic recognition.
- Grow Patternflow into a self-sustaining community and ecosystem, then move on to the next project.